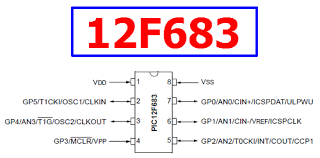
In this post i will show how to code pic microcontroller with ai, you can use chatgpt, blackbox ai, or claude ai, but i prefere claude ai because it data is upto 2023, and also understand embedded systems than other AI in my experience so this project is based on a 8bit mid-ranged microcontroller which is pic12f683 , it is a DIP8 mcu and the project is a led blink circuit, how to blink led with pic12f683 using claude ai to generate the code.
The microcontroller i use for the project

Things needed to make this project
- MPLAB X IDE and xc8 compiler
- PICKIT 3 sofware and it development hardware to program the pic microcontroller
- pic12f683 microcontroller
- Breadboard
- led
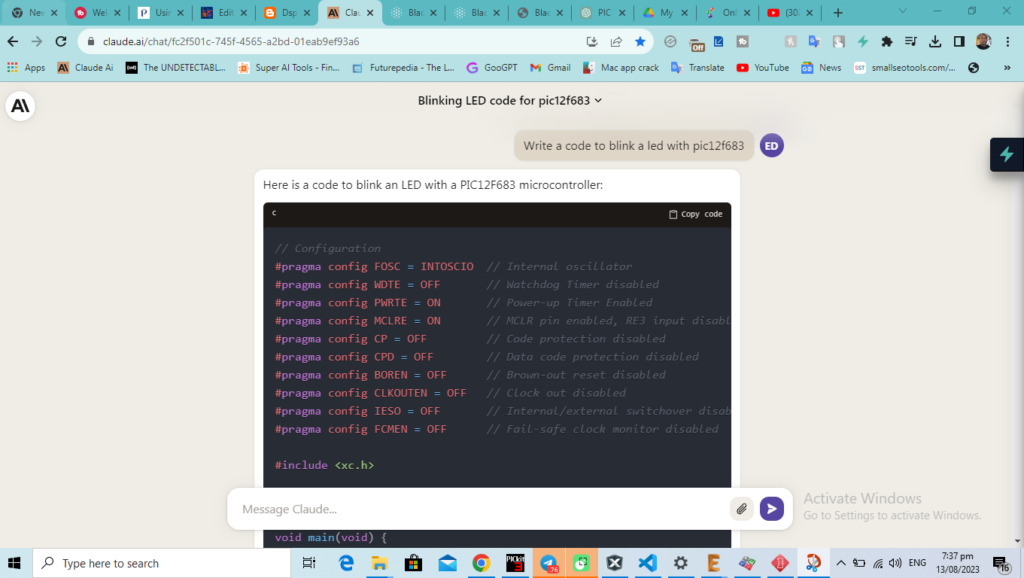
Here is the code claude.ai generated when I prompt it

The prompt to blink a led with pic12f683 below
AI= ”write a code to blink a led with pic12f683”
Schematic diagram for the led blink project

Code Generated by Ai below
// PIC12F683 Configuration Bit Settings

// 'C' source line config statements

// CONFIG
#pragma config FOSC = INTOSCIO  // Oscillator Selection bits (INTOSCIO oscillator: I/O function on RA4/OSC2/CLKOUT pin, I/O function on RA5/OSC1/CLKIN)
#pragma config WDTE = OFF       // Watchdog Timer Enable bit (WDT disabled)
#pragma config PWRTE = ON       // Power-up Timer Enable bit (PWRT enabled)
#pragma config MCLRE = ON       // MCLR Pin Function Select bit (MCLR pin function is MCLR)
#pragma config CP = OFF         // Code Protection bit (Program memory code protection is disabled)
#pragma config CPD = OFF        // Data Code Protection bit (Data memory code protection is disabled)
#pragma config BOREN = OFF      // Brown Out Detect (BOR disabled)
#pragma config IESO = OFF       // Internal External Switchover bit (Internal External Switchover mode is disabled)
#pragma config FCMEN = OFF      // Fail-Safe Clock Monitor Enabled bit (Fail-Safe Clock Monitor is disabled)

// #pragma config statements should precede project file includes.
// Use project enums instead of #define for ON and OFF.

#include <xc.h>
#include <pic12f683.h>
#define _XTAL_FREQ 4000000

void main(void) {

  ANSEL = 0; // Configure AN pins as digital
  ANSEL = 0;

  TRISIO = 0; // Set IO pins as outputs
  GPIO = 0; // Initialize to 0

  while(1) {
    GPIO = 0b00000100; // Turn on LED
    __delay_ms(500);
    GPIO = 0; // Turn off LED
    __delay_ms(500);
  }

}
Video Here
Note: to be able to build more sophisticated project with ai you need to know basic of pic programming and also c or c++ language so that you will be able to give the ai a prompt that will make the ai give you the code you want, for question post it in the forum section of our website
